Ah the cauliflower pizza crust. I feel like I have been intrigued by this recipe for years and you can inevitably find it on just about any food blog out there. It is definitely a favorite on Pinterest. Like so many other pins, I always wondered about it, but never tried it. As you know, with our PIY to DIY series, that is all changing!
So, I figured one of my first PIY to DIY posts should be to try out the “Best Cauliflower Crust Pizza” recipe that received over 88,000 repins on Pinterest! Is it worth the hype? I found out.
Note: post contains affiliate links.
There are many different versions out there, so I decided to opt for the most popular one I could find when searching “Cauliflower Pizza Crust” on Pinterest. I was blown away by the number of repins for this one from EataGreatDeal.com – 88,200?! This has to be good, right?
So, I read through the recipe and decided to give it a shot! I went to Kroger and picked up everything I needed.
Here is the breakdown of what you will need and the cost at my grocery store:
- (1) medium head cauliflower ($2.49/each)
- (1) 8oz pkg Parmesan cheese ($2/each)
- (1) 8oz pkg Mozzarella cheese ($2/each)
- (1) jar pizza sauce ($1.69/each)
- Items I already had at home and you likely do too:
- Dried spices (basil, garlic powder, oregano) and salt
- 1 egg
- The recipe states it is optional to add 1 Tbsp almond flour. I don’t typically use almond flour so I opted not to buy just for this recipe since I wanted it to be cost effective.
- Total cost: <$10
Now it was time to prepare the crust!
Step 1: Preheat oven to 450 degrees F with a baking sheet left inside the oven.
Step 2: Make your cauliflower rice using a food processor. First, you should wash and dry your cauliflower head and cut off the leaves so that just the florets remain.
Now, to make the rice, there are two methods. This recipe calls for the easy method of just pulsing the florets in the food processor. But, I was also making another Cauliflower Fried Rice recipe at the same time that highly recommended using the grating disc of your food processor. Since, I had never tried this before, I decided to try the grating method.
Note you will not have as much as pictured below since I made extra for multiple recipes using 2 large heads cauliflower.
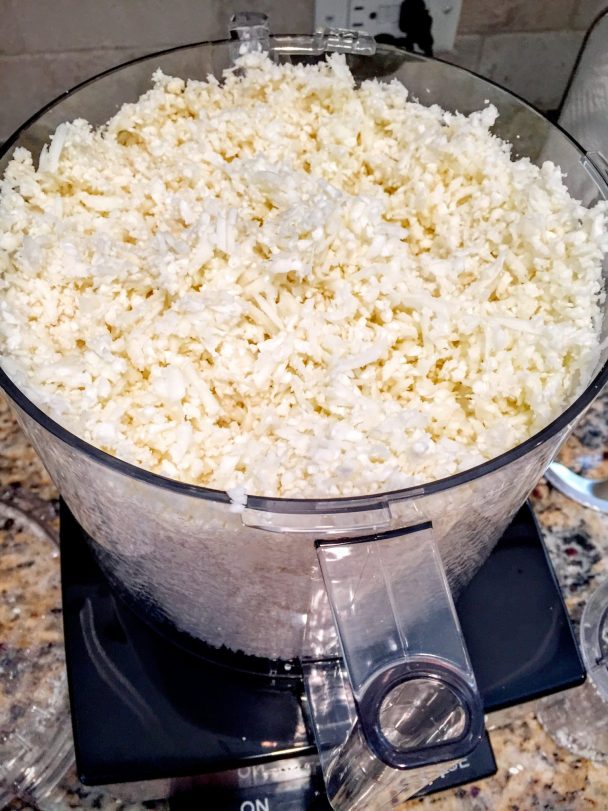
The outcome is more or less the same. The grated disk makes some pieces that look a bit more like hashbrowns, but I don’t think it has any impact on the recipe since you mush it all together in the end.
Now, if you are like me and are a food processor newbie, don’t worry! Before this, I had always made cauliflower rice using my little handheld Ninja food chopper which took forever since I had to do many tiny batches. This time, I had just received my gorgeous new Cuisinart food processor from my wedding registry and could not wait to use it!
Read more tips on what to put on your wedding registry here.
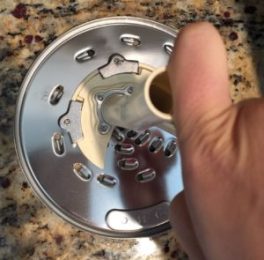
I had no clue how to put on the grating disc attachment, so I watched the video above. It is super long and outdated, but it has all the content you need. Just fast forward to 3:35 to see how to attach the grating disc.
Basically, you just firmly push the shaft attachment into the open spaces of the grating disc attachment and then turn clockwise to lock into place. Here is a photo if you want to try without watching the video demo:
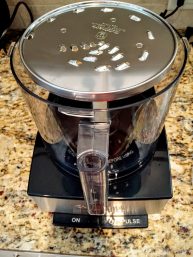
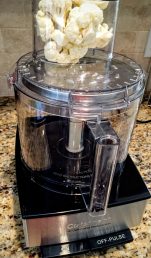
Once you get the food processor set up with your grating disc, place florets into the chamber at the top, then push down on the “ON” button (don’t worry if nothing happens yet), and push firmly down using the food pusher attachment to feed the florets towards the blade.
When I first did this, I thought my food processor was broken because it wasn’t spinning, but then I realized you had to push down (pretty hard) on the florets using the food pusher attachment to create the pressure that triggers the disc to start spinning. Repeat until you have grated all your cauliflower into “cauliflower snow.”
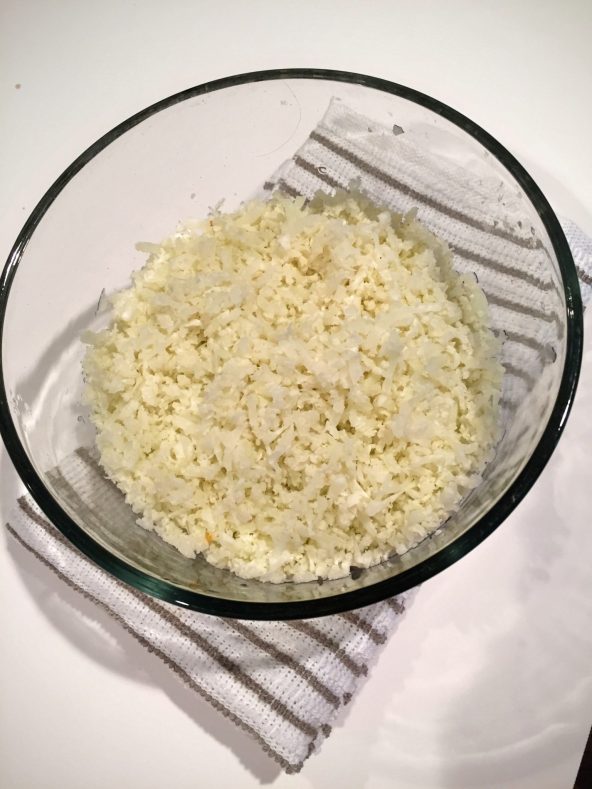
Step 3: Cook the cauliflower. I placed 3 cups of my cauliflower snow into a microwave-safe container and microwaved it for 4 minutes. Then, pull it out and let it cool. I put it in the refrigerator to speed up this process.
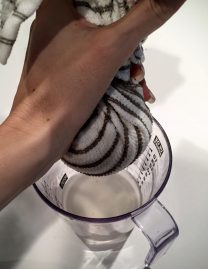
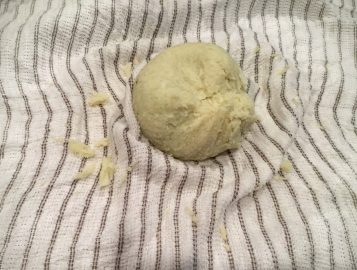
Step 4: Strain out any water. Once it has cooled completely (this is important or it may burn your hands), pour it onto a clean dishtowel, wrap it up, and start ringing “the heck out of it” to get rid of any excess water. In all the recipes I read, this was a crucial step to making sure your crust stayed together. So, I really put some elbow grease into this and rang and rang until nothing else would come out. I got over 1/4 cup water out.
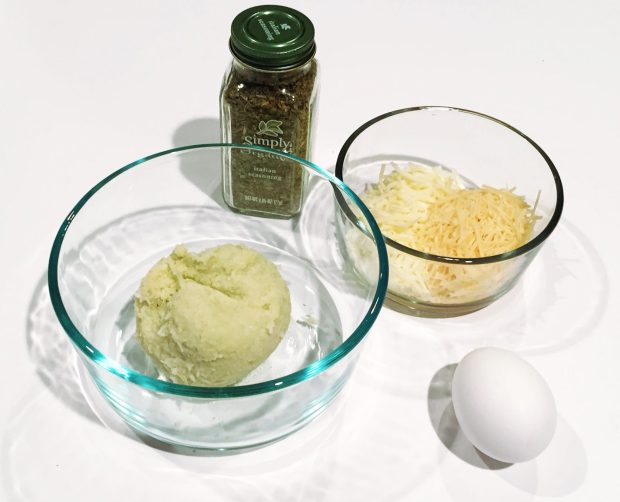
Step 5: Combine cauliflower with cheese and seasoning, then egg. Add 1/4 cup Parmesan and 1/4 cup Mozzarella, pinch (1/4 tsp) salt and your spices. You can follow the recipe, but I just opted to make it easy and add 1 tsp Italian seasoning since it was the same flavor profile.
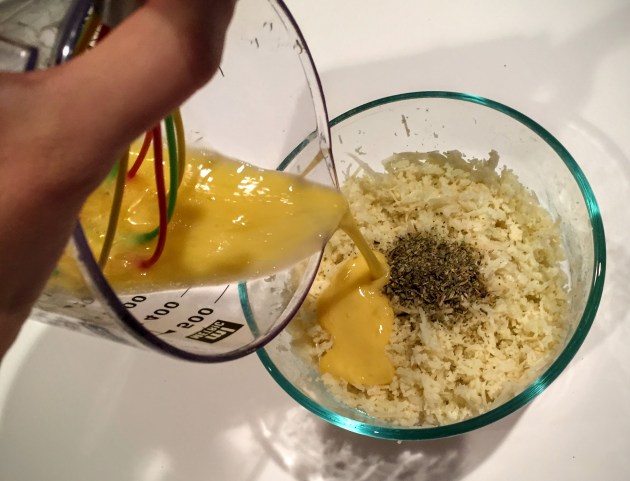
Mix it up (hands are easiest) and then add your egg. I was quite ‘juicy’ for lack of a better term at this point. I thought to myself, all that ringing out water just to make it liquidy again with the egg? But I trusted the recipe and pressed on.
Step 6: Form the crust on your oiled parchment paper or tin foil. There weren’t very detailed instructions on how to do this. I read other recipes and they say about 1/3-1/2 inch thick so that is what I did.
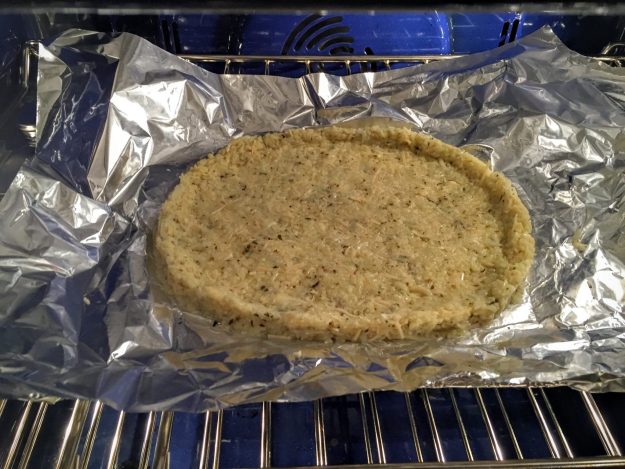
Step 7: Cook. Slide the tin foil or parchment paper onto the baking sheet already in the preheated oven. Cook for 8-11 minutes per the recipe to make sure it is golden brown. I made two pizzas to test the differences in cook times since I had seen other recipes that called for at least 30 minute total cook time. For one, I followed the recipe pin and the other I relied more on the visual cues and left in for about 25 minutes before pulling it out to add sauce and cheese.
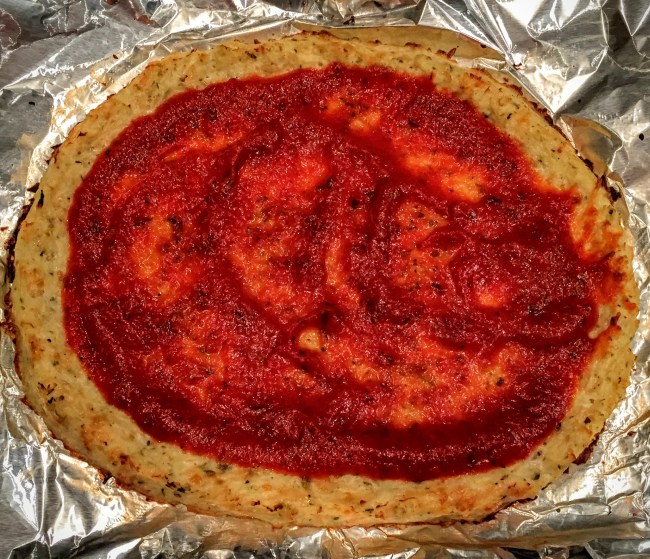
Step 8: Add cheese & sauce. I removed from the oven once the crust starts to turn golden brown and added about 2 spoonfuls of sauce for a light layer and 2 small handfuls of cheese. I wouldn’t overload the pizza with toppings for reasons we will discuss in a second.
Step 9: Cook your cauliflower pizza 5-7 more minutes until cheese is melted and bubbly and starting to get a bit golden.
Step 10: Remove from oven and let cool for 5 minutes or so. Then slice with a pizza cutter and serve with a spatula.
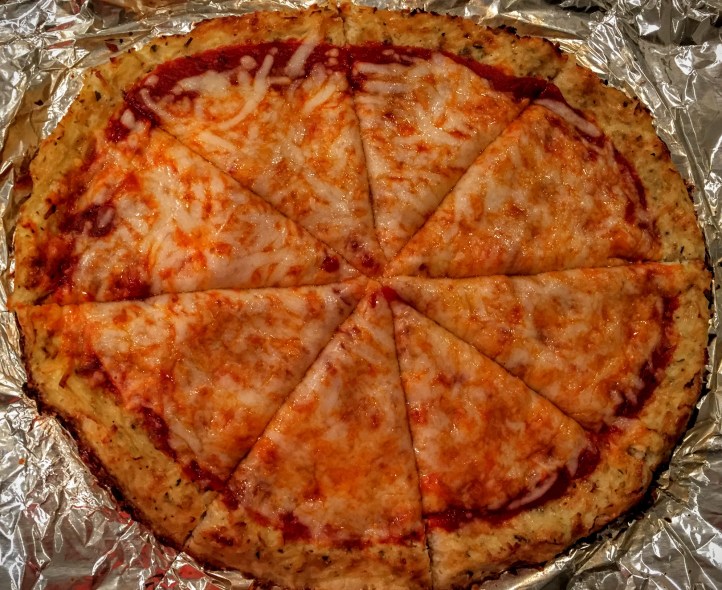
How did the cauliflower pizza turn out?
Ok, I would say. No rave review here. While it did stay together, the pizza was still much limper than traditional pizza and a bit chewy. Overall, the taste was good since it was covered in cheese and pizza sauce.
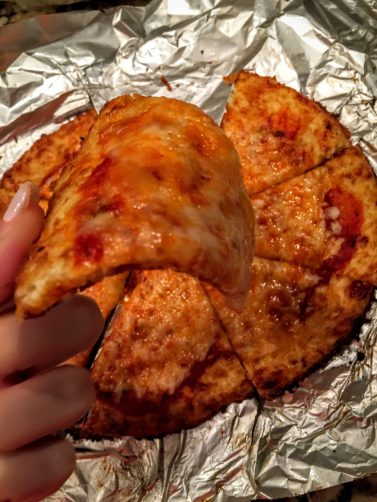
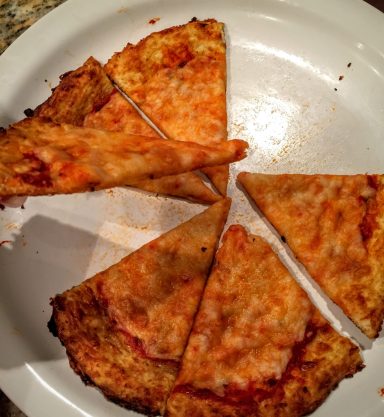
The cauliflower pizza that I cooked longer for a total of about 30 minutes was much better in my opinion, so I would definitely increase the cook time if you try this recipe. I put the leftovers in the refrigerator until my husband got home. When I pulled it out for him, it was actually much better cold! It was much firmer and quite yummy (see photo below):
Final verdict:
- I feel like trying out cauliflower pizza crust is one of those rites of passages of testing Pinterest recipes. I am glad I did it once so that I don’t have to continue to wonder if it works, but would I do it again? Probably not.
- Budget: $$ while less than $10, it is a personal pizza size and really not enough for more than 1 person unless you have side dishes.
- Time: 5 (1-10 scale) It took about 25 minutes to do all the prep, took about 30+ minutes to cook the cauliflower pizza, and there was a fair amount of cleanup. I kept finding little cauliflower shrapnel all over the counters and floor! I would consider it quite labor intensive for the lackluster results.
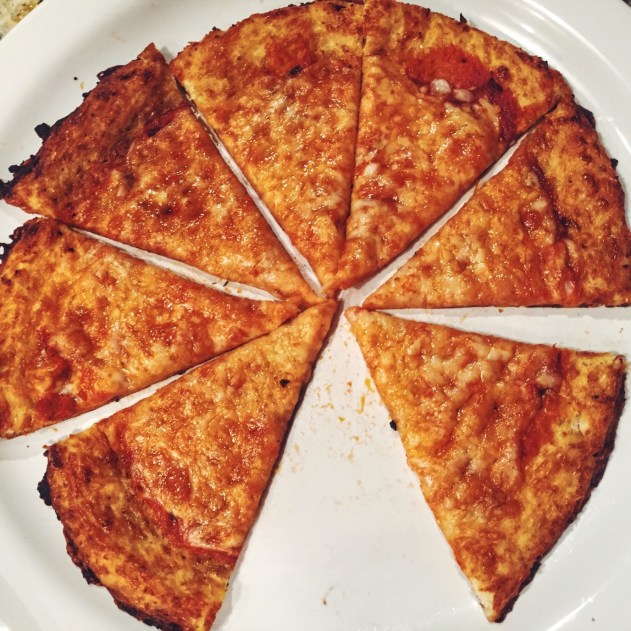
Recommended alternative: I would opt instead to buy premade mini Boboli crusts or Mama Mary’s premade gluten free crust for about $3.65-3.77 per 2 each at Walmart. This will actually end up being cheaper, is much more convenient, and will turn out better! Serve with a side of veggies instead of trying to make the crust out of them. Or if you want to try out the cauliflower crust but are trying to avoid the extra prep and mess, pre-riced cauliflower is available at Trader Joe’s, but I am guessing it is a bit more expensive.
Isn’t cauliflower pizza much healthier though?
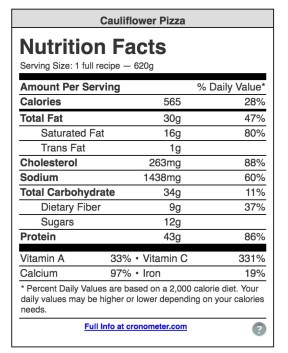
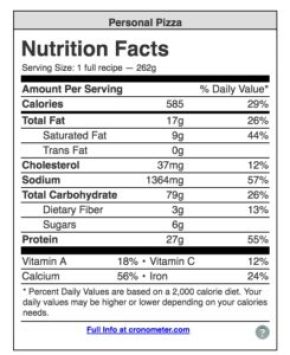
Yes, but maybe not in the ways that you think. The calories are about the same between a Cauliflower Pizza and Personal Pizza (made with Boboli crust) based on topping them both with about 1/2 cup mozzarella cheese. The Cauliflower Pizza is definitely lower in carbs and has about 3x as much fiber so those are definite pluses. However, I find personal Boboli Pizzas much more satisfying. I would prefer to have 3/4 a Boboli Pizza and a side of extra veg for a meal to get roughly the same benefits. (Nutrition analysis using Cron-O-Meter).
Wrap up:
I feel like this PIY to DIY post was like Myth Busters: Pinterest recipe edition! 😉 While there were 88k+ repins of this recipe, there were only 8 comments. Most were simply sharing with someone else and hadn’t tried it. One said it was ok without any other details. My goal is to help provide detailed reviews so you have a good sense of what recipes are worth the effort, so I hope you found this post helpful!
Please comment and let me know what you think below and subscribe to our newsletter for upcoming giveaways and freebies!

